How to make paper snowflakes: folds, patterns and templates
Real snowflakes have six points, and so should paper ones. Here is the fold that gets you there from a sheet of A4, the cuts that make stars, hexagons and lace, and a 3D version to hang up.
A paper snowflake looks right when it has six points, like real snow. That takes one fold most quick tutorials skip: a square folded on the diagonal, in half, then into thirds, which stacks 12 layers into a narrow wedge. This guide covers the folds from a sheet of A4, the cuts that turn the wedge into stars, hexagons or lace, the best paper, a 3D version, and how to display your snowflakes with the rest of your Christmas home decor.
What you need to make paper snowflakes
- Paper: A4 printer paper works, and thinner paper is easier to cut through 12 layers (see the table below).
- Sharp scissors, plus a small pair for fine detail. Children’s safety scissors manage tissue paper and 4-layer folds.
- A pencil to draw the pattern on the folded wedge.
- Thread, removable adhesive putty or tape to display them.
How to make a paper snowflake step by step
- Make a square. Fold one corner of an A4 sheet down to the opposite long edge to form a triangle, then cut off the 8.7 cm strip below it. You now have a 21 cm square, already folded on the diagonal.
- Fold the triangle in half by bringing its two sharp corners together. The point where the folds meet is the centre of the snowflake.
- Turn the triangle so the long open side is at the top and the centre point is at the bottom.
- Fold it into thirds: fold the right-hand third across, then fold the left-hand third over it. Line up the edges so the three sections are equal before you crease. Each section is a 30 degree slice.
- Cut straight across the top, just below the lowest uneven tail, so every layer reaches the cut.
- Draw your pattern in pencil, cut it out, then unfold slowly so the thin joins do not tear.
From a 21 cm square the finished snowflake is about 21 cm across. An A3 sheet gives a 29.7 cm square and an A5 sheet a 14.8 cm square, with snowflakes to match. Press the snowflake under a heavy book for an hour and the fold lines flatten out.
Why six points and not eight
Fold a square in half three times and you get eight layers and a pattern that repeats four times around the centre. Real snow crystals grow with six-fold symmetry, so folding into thirds is what makes a paper snowflake look like the real thing.
Paper snowflake patterns: what each cut does
A snowflake template is just a pattern drawn on the top layer of the folded wedge. These cuts are the building blocks: combine two or three of them on one snowflake.
| Cut | Where | Result when unfolded |
|---|---|---|
| Straight cut at right angles to one folded side | Top edge | A hexagon outline |
| Steep slanted cut, highest at one side | Top edge | Six sharp points |
| Snip off the tip | Point of the wedge | A hole in the centre |
| Small triangle or half-diamond | Into a folded side | Diamonds along the arms or between them |
| Half a heart against the fold | Into a folded side | Whole hearts |
| Thin slits angled towards the top | Into a folded side | Branches, like a fern |
Rules that stop a snowflake falling apart
- Never cut all the way from one folded side to the other, or the snowflake comes apart in rings.
- Leave at least 3 mm of paper between neighbouring cuts.
- Cut the big shapes first and the small notches last, while the wedge is still stiff.
- Keep some paper uncut along both folded sides near the point: it holds the arms together.
What type of paper is best for paper snowflakes?
| Paper | Cutting through 12 layers | Best use |
|---|---|---|
| A4 printer paper | Firm: adult scissors for fine detail | Crisp white snowflakes for walls and garlands |
| Origami paper | Easy: thin and already square | Coloured snowflakes with no squaring step |
| Tissue paper | Very easy, but tears as you unfold | Young children, layered snowflakes on glass |
| Baking parchment or tracing paper | Easy | Frosted-looking snowflakes on windows |
| Thin card | Too thick for 12 layers | A 4-layer fold, or the 3D snowflake below |
How to make paper snowflakes with kids
- Fold the paper for them, then draw the cutting lines on the wedge with a felt pen.
- For small hands, stop after two folds. A 4-layer triangle is easy to snip and still opens into a pattern, with two repeats around the centre instead of six.
- Tissue paper or baking parchment cuts easily with safety scissors.
- Start with notches in the sides; shaping the top can come later.
- Older children can manage the thirds fold and the hexagon cut from the pattern table.
Our page of Christmas crafts for kids has more easy ideas for all ages.
How to make 3D paper snowflakes
A 3D snowflake is six folded squares joined at the centre. Printer paper, card or leftover wrapping paper all work.
- Cut six squares of the same size, 10 to 15 cm.
- Fold each square on the diagonal into a triangle, then in half again.
- Cut three evenly spaced slits parallel to the long open edge. Start each one at the same folded side and stop about 1 cm before the other.
- Unfold. Bring the two innermost points together over the centre and tape them, so they form a small tube.
- Turn the square over, bring the next pair of points together and tape them. Keep turning and taping until every pair is joined.
- Repeat with the other five squares. Staple three of them together at one end, then the other three, and staple the two halves together at the centre. Finally staple each arm to its neighbours where they touch.
Why real snowflakes have six sides
NOAA explains that a snowflake begins when an extremely cold water droplet freezes onto a speck of pollen or dust in the sky, making an ice crystal. As the crystal falls, water vapour freezes onto it and builds the six arms. The six-sided pattern reflects the way water molecules line up as the ice forms.
The shape depends mostly on temperature, and to a lesser extent on humidity. Kenneth Libbrecht, a physics professor at Caltech, gives these bands:
| Temperature | Main crystal shape |
|---|---|
| Near -2°C | Thin plates |
| Near -6°C | Slender columns |
| Near -15°C | Large thin plates |
| Colder | Either plates or columns |
Snowflakes tend to look unique because, as NOAA puts it, each one follows a slightly different path from the sky to the ground and meets slightly different conditions on the way. The hexagon cut in the pattern table copies the thin plates that grow near -2°C and -15°C, which is why it reads as snow.
How to display paper snowflakes
- Windows: a dab of removable adhesive putty or a small loop of tape on the back. Translucent paper shows best against the light.
- Hanging: thread cotton or fishing line through one point with a needle and hang them at different heights.
- Garland: punch a hole in two opposite points and thread them along string or ribbon.
- Presents: a small snowflake under the ribbon makes a gift topper, and our guide to wrapping a present neatly covers the rest.
- Next year: store them flat between the pages of a heavy book.
Paper snowflakes in a window look best after dark with light behind them. Our Christmas window lights include snowflake and star shapes that sit well among cut-outs, and our Christmas window decorating ideas cover stickers and paper displays.

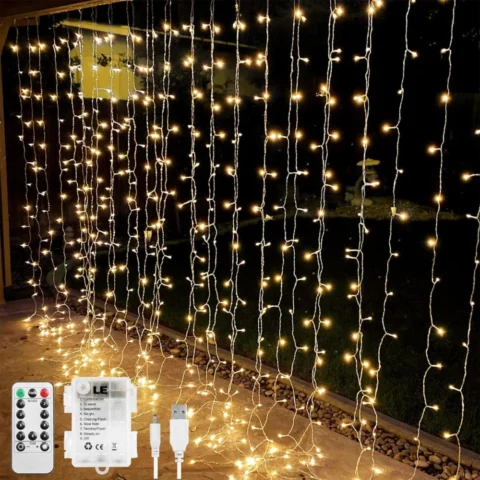
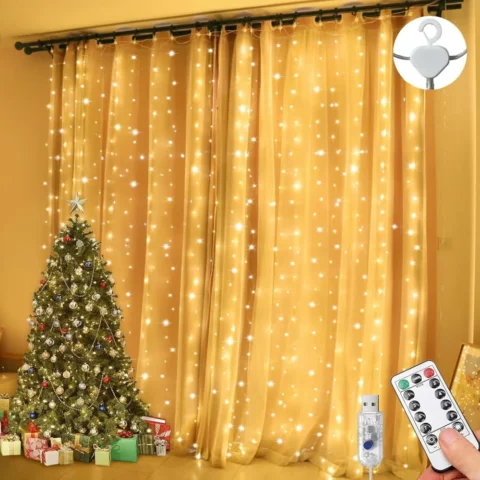

Light-up mini trees, garlands and flameless candles for the shelves and sills around them are in our home and kitchen Christmas decorations.
Frequently asked questions
How do you fold a sheet of paper to make snowflake cut-outs?
Start with a square and fold it on the diagonal, then in half again so the centre of the square is at the point. Fold that triangle into three equal sections of 30 degrees each. You end up with 12 layers in a narrow wedge, which opens into six points.
What type of paper is best for cutting paper snowflakes?
Thin paper: origami paper, tissue paper or baking parchment cut easily through 12 layers. Standard printer paper gives crisper snowflakes but needs sharp adult scissors for fine detail. Card is too thick for the six-point fold.
How do I make paper snowflake patterns step by step?
Draw the pattern in pencil on the folded wedge before cutting. Shape the top edge first, since it decides the points, then cut small shapes into both folded sides, keeping some paper uncut along each side so the arms stay joined.
How do you make paper snowflakes with young children?
Do the folding yourself and draw the cutting lines with a felt pen. For small hands, fold only twice so there are four layers, and use tissue paper or baking parchment, which safety scissors cut without a struggle.
How are real snowflakes made?
A snowflake starts when an extremely cold water droplet freezes onto a tiny speck of pollen or dust in the sky, making an ice crystal. As it falls, water vapour freezes onto the crystal and builds the six arms.
Do snowflakes have 6 or 7 sides?
Six. NOAA explains that the six-sided shape comes from the way water molecules line up as the ice crystal forms, so snowflakes grow six arms. Four- and eight-pointed paper snowflakes come from folding the paper in halves rather than thirds.
Are any two snowflakes exactly the same?
They tend to look unique. NOAA explains that each snowflake follows a slightly different path from the sky to the ground, so it meets slightly different conditions along the way and grows its own pattern.
What are the main types of snowflakes?
Kenneth Libbrecht, a physics professor at Caltech, links the basic shape to temperature: thin plates near -2°C, slender columns near -6°C and large thin plates near -15°C. At lower temperatures, either plates or columns can form.